
Trench Drain Installation
The 5 step trench drain install
Perhaps the greatest advantage to Preform Trench Drain’s (PTD) innovative design concept is how it simplifies the trench drain installation process. A complete installation can be achieved following five simple steps:
-
EXCAVATE TRENCH:
-
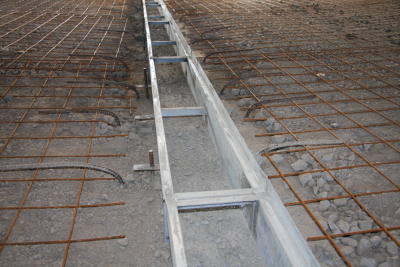
SET PTD HOUSING INTO TRENCH:
-
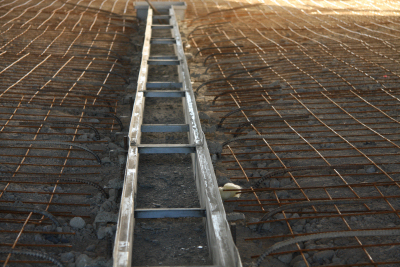
ACHIEVE PROPER GRADE:
-
DRAINAGE PITCH:
-
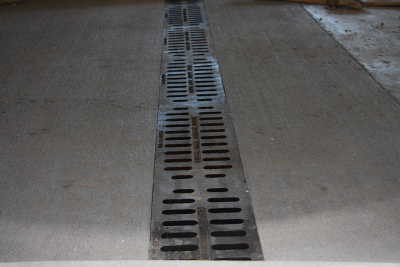
PLACE GRATING/COVER IN PLACE:
- Where vehicle traffic will pass over Preform Trench Drain, it is necessary to surround this trench drain with 4-6 inches of concrete.
- Preform Trench Drain has no bottom and concrete is used to provide the pitch or slope from the high point in the strip to the low point at the sewer outlet. Outlets should be provided BEFORE any concrete is poured.
Sump units are installed in a like manner using a cutting torch or cold chisel to provide openings for sewer tile outlets or vent lines in the sides of the steel sump stool. After lines are installed, pour the bottom and sides, completing the sump installation.